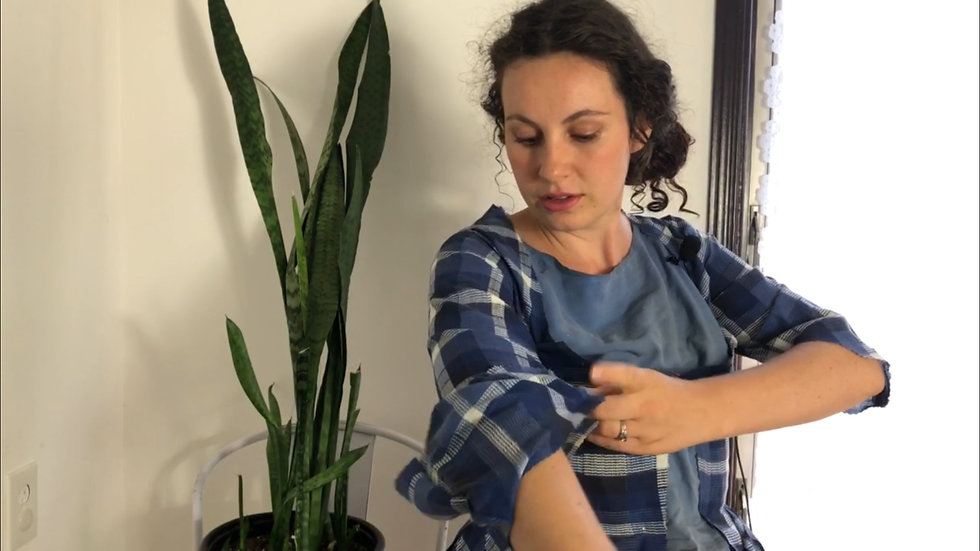
Making a "Modern" 18th Century Jacket | Part 1
- Katherine Sewing
- Sep 28, 2020
- 3 min read
Updated: Nov 2, 2021

I love this jacket, now. However, it was a project which really tested my boundaries from the start. First, the orange colour of fabric I decided to use, as well as the fear of it looking too much like a costume. All those doubts came to be allayed, but that is a long story.
In this Part One, I will go over the pattern drafting and the mock-up. In Part 2, I will explain the sewing process. Both had their own trials and pitfalls along the way!
The Pattern
I used a Janet Arnold pattern for this, from Patterns of Fashion 1, on the page containing jackets for “undress wear”. “Undress wear” meant clothes which were more casual. To a modern person, this would be laughable, as average 18th century “casual wear” was still quite formal by our standards, and contained many layers.
I loved these jackets though, and felt they could be very translatable to a modern wardrobe, especially the jacket with the short peplum and pocket flaps, which is the one I decided to use.
The only design change I made was to change the front closure of the jacket from a “v” opening with lacing and a stomacher, to a straight centre-front closure. This was easy, as there was another jacket on the same page with that type of closure, so I combined the two patterns by eye.

Scaling up the Pattern and Altering it to Fit
This was the hardest part of this entire project. First, I tried tracing my custom bodice block and altering it to look like the pattern from the book. I think I did a fairly good job, but I just didn’t have the confidence to keep going with it. I was mainly concerned about how to make the pattern have no darts or princess seams in it as the pattern does, while not having gaping or excess. I attempted this by slashing the pattern, overlapping the pieces, and redrawing the outlines. This was all guesswork.
Next, I thought it might be easier to work from the actual pattern, so I scaled it up using a one inch grid. This was such a pain! It is one thing scaling up corset pattern pieces in this way, but when it comes to a regular garment, manually scaling up takes a long time due to their larger size. The worst part was that once it was scaled up, it was still way too tiny for my body, necessitating a host of changes to the pattern. When adding this much width width to a pattern, it is difficult to keep the original style lines. I did my best *shrug*.
Once I felt satisfied with the bodice sizing, I altered the neckline to have the centre front closure instead of the deep “V”. Then, I graded up the sleeve, cuff, and peplum pattern pieces. These also required massive changes, in order to fit into the enlarged bodice. For the sleeves, I had to widen them and enlarge the armsyce. The peplum was more tricky- I had to enlarge it to fit the bodice while also keeping enough extra width for the pleats.

The Mock-Up
I had so many question marks in my mind about the sewing of this jacket. I did my best, and the mock-up process did clear up a lot of these questions for the final sewing.
There were a few changes I needed to make to the pattern:
Add extra width to the jacket so it could close at centre-front. I’d originally planned this jacket for post-pregnancy, but decided I wanted it to fit me right now.
Dart out excess fabric from the shoulder line, and the side of the neckline. These darts both had to be fairly large to get rid of all the gaping.
Raise the neckline a couple inches so this jacket could work with my modern wardrobe.
Narrow the sleeves a little to make them more fitted, and true the bottom of the peplum so it had a smooth bottom line all around.
And that’s it! I apologize for the video not including all of the drafting process. I’d intended on having a lot more footage than I ended up having. I hope this is helpful for anyone planning a similar project, and stay tuned for part 2 where I show the sewing process of the final jacket!
Contact me at katherinelovessewing@gmail.com
#sewing #handmadeclothing #historicalfashion #sewingproject #sewingmachine #sewinglove #sewingblogger #sewingaddict #sewingpattern #sewingroom #sewinglife #sewingmama #sewingtime #sewingforgirls #sewingblog #sewingprojects #sewingfun #sewingisfun #sewingpatterns #sewingmom #sewingwithlove #sewinginspiration #handmade #handmadewithlove #handmadeisbetter #handmadelove #handmadefashion #handmadeisbest


Explore Yellowstone Merchandise at Western Apparel, inspired by the iconic Yellowstone TV Series. From rugged hats to classic tees, our collection embodies the spirit of the Dutton Ranch. Gear up with authentic, high-quality apparel perfect for fans and Western enthusiasts alike. Discover your frontier style today!